Bite-Sized Mini Sugar Cookies – Tender Sweet Treat
Mini sugar cookies are undeniably one of the most delightful treats to bake and share, and for good reason! There’s something incredibly charming about these perfectly portioned, melt-in-your-mouth morsels. They’re not just cookies; they’re tiny canvases for creativity, perfect for decorating with vibrant icing and sprinkles for any occasion, from birthday parties to holiday gatherings. What truly makes these mini sugar cookies so special is their incredible versatility and the joy they bring. Their delicate sweetness and satisfyingly crisp texture are universally loved, making them a go-to for baking beginners and seasoned pros alike. Whether you’re looking for a simple, crowd-pleasing dessert or a fun activity to do with loved ones, these little gems are guaranteed to bring smiles and sweeten any moment.
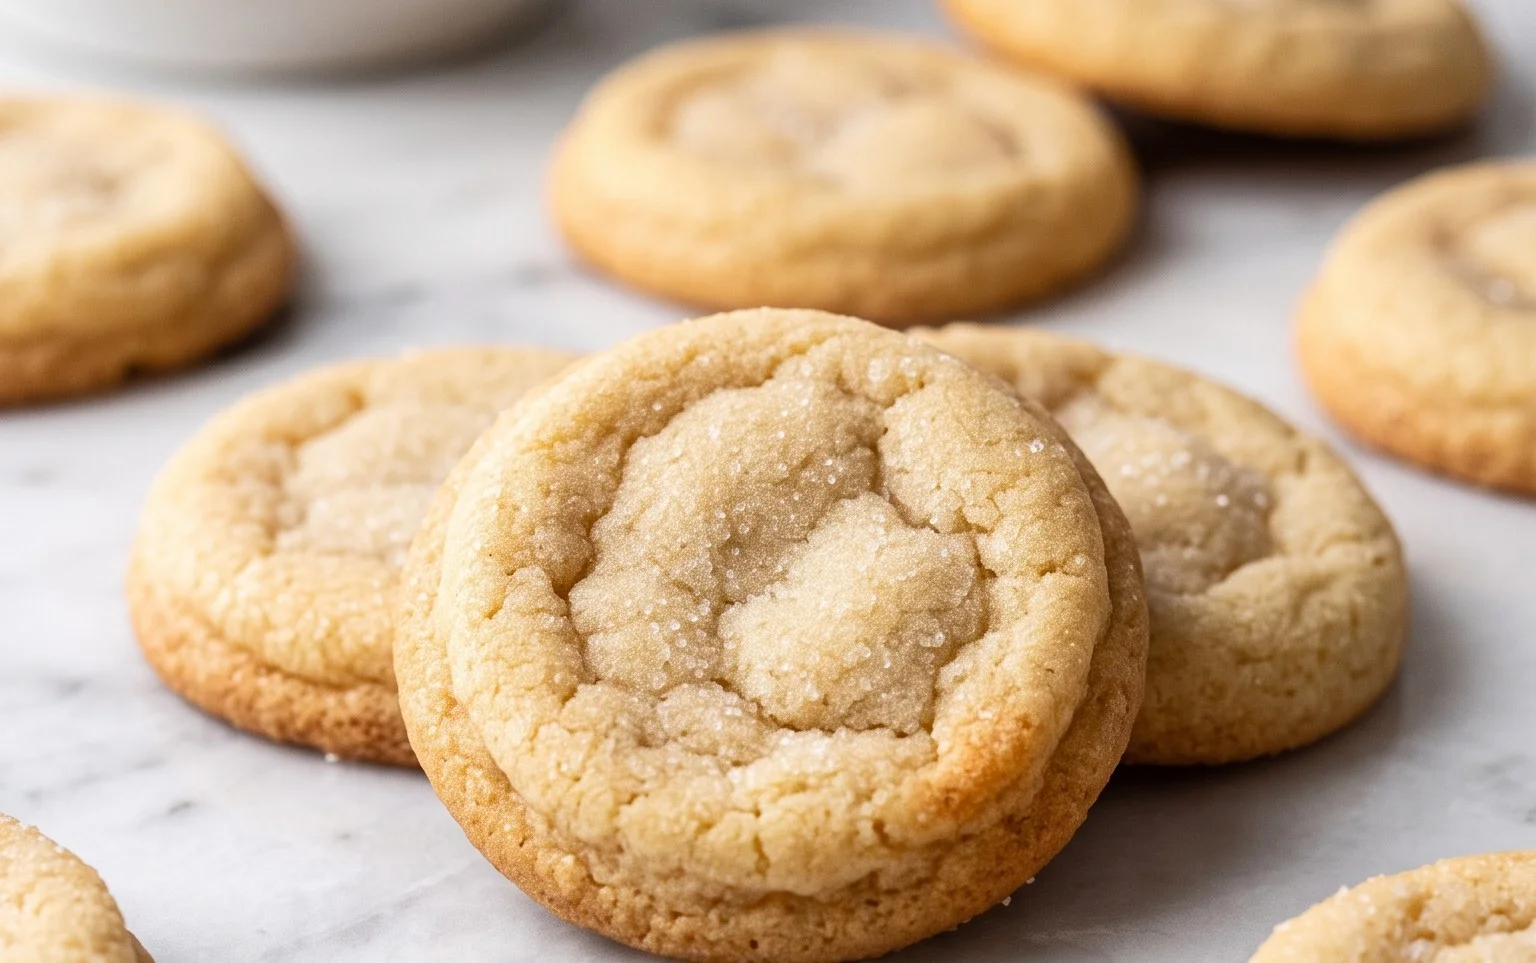
Mini Sugar Cookies
There’s something incredibly charming and delightful about mini sugar cookies. They’re the perfect bite-sized treat, bursting with classic sweet flavor and a wonderfully tender crumb. Whether you’re looking for a simple bake for a weeknight treat, a festive addition to a holiday platter, or just a way to satisfy a sweet craving, these mini sugar cookies are an absolute winner. They’re surprisingly easy to make, and the aroma that fills your kitchen as they bake is simply heavenly. This recipe is a go-to for many, thanks to its foolproof nature and the consistently delicious results. We’re not going for elaborate decorations here, but the pure, unadulterated joy of a perfectly baked, melt-in-your-mouth sugar cookie. The subtle hint of almond extract adds a sophisticated layer to the classic vanilla, making these cookies truly special. So, let’s get baking!
Ingredients:
- ½ cup (113g) unsalted butter (softened but still cool to the touch)
- ½ cup (115g) granulated sugar
- ½ cup (60g) powdered sugar
- ½ cup (108g) canola or vegetable oil
- 1¼ teaspoons pure vanilla extract
- ¼ teaspoon almond extract
- 1 large egg
- 2⅓ cups (291g) all purpose flour (spooned and leveled)
- ¾ teaspoon baking soda
- ¾ teaspoon cream of tartar
- ½ teaspoon salt
- ¾ cup (173g) granulated sugar, divided (for rolling and sprinkling)
Instructions:
1. Cream the Butter and Sugars: In a large mixing bowl, begin by creaming together the softened but still cool unsalted butter, granulated sugar, and powdered sugar. It’s crucial that your butter is softened but not melted; this will allow it to incorporate air effectively, leading to a lighter cookie. Start by beating these ingredients on medium speed with an electric mixer until the mixture is pale and fluffy. This usually takes about 3-5 minutes. Scrape down the sides of the bowl periodically to ensure everything is evenly incorporated. This step is foundational for the texture of your cookies, so don’t rush it!
2. Incorporate Wet Ingredients: Next, gradually add the canola or vegetable oil to the creamed butter and sugar mixture while the mixer is on low speed. Once the oil is mostly incorporated, increase the speed back to medium and beat for another minute until well combined. Now it’s time to add the flavorings: the pure vanilla extract and the almond extract. Pour them in and mix until just combined. Finally, crack in the large egg. Beat on medium speed until the egg is fully incorporated and the mixture is smooth. Again, scrape down the sides of the bowl as needed. This combination of butter and oil contributes to both flavor and a wonderfully tender, slightly crisp texture in the finished cookie.
3. Combine Dry Ingredients and Add to Wet: In a separate medium bowl, whisk together the all-purpose flour, baking soda, cream of tartar, and salt. Whisking these dry ingredients together ensures that the leavening agents (baking soda) and salt are evenly distributed throughout the flour, which is key for consistent baking and rise. Now, with the mixer on low speed, gradually add the dry ingredients to the wet ingredients. Mix only until just combined. Be careful not to overmix the dough at this stage, as overmixing can develop the gluten in the flour too much, resulting in tougher cookies. Stop mixing as soon as you no longer see streaks of dry flour.
4. Chill and Prepare for Rolling: The dough will be quite soft at this point. To make it easier to handle and to ensure your cookies hold their shape during baking, it’s essential to chill the dough. Gather the dough together, flatten it into a disc, wrap it tightly in plastic wrap, and refrigerate for at least 1 hour, or until firm enough to handle. While the dough is chilling, prepare your baking sheets by lining them with parchment paper or silicone baking mats. This prevents sticking and makes for easy cleanup. Also, place the reserved granulated sugar for rolling into a shallow dish or plate.
5. Form, Roll, and Bake: Once the dough is chilled and firm, preheat your oven to 350°F (175°C). Take small portions of the chilled dough, about 1 tablespoon each. Roll them between your palms to form little balls. Then, roll each ball in the prepared granulated sugar until evenly coated. This sugar coating not only adds sweetness but also creates a lovely sparkly finish on the cookies. Place the sugared balls onto the prepared baking sheets, leaving about 2 inches between each cookie to allow for spreading. You can gently flatten the tops of the balls with the bottom of a glass or your hand if you prefer a flatter cookie, but they will spread on their own to some extent. Bake for 8-10 minutes, or until the edges are lightly golden brown and the centers are set but still look slightly soft. Do not overbake!
6. Cool and Enjoy: Allow the mini sugar cookies to cool on the baking sheets for 5 minutes before carefully transferring them to a wire rack to cool completely. This resting period on the baking sheet is important as it allows the cookies to firm up further before moving them, preventing breakage. Once completely cooled, these delightful mini sugar cookies are ready to be enjoyed! They are perfect for snacking on their own, dunking in milk, or sharing with friends and family. Store any leftovers in an airtight container at room temperature for up to 5 days.
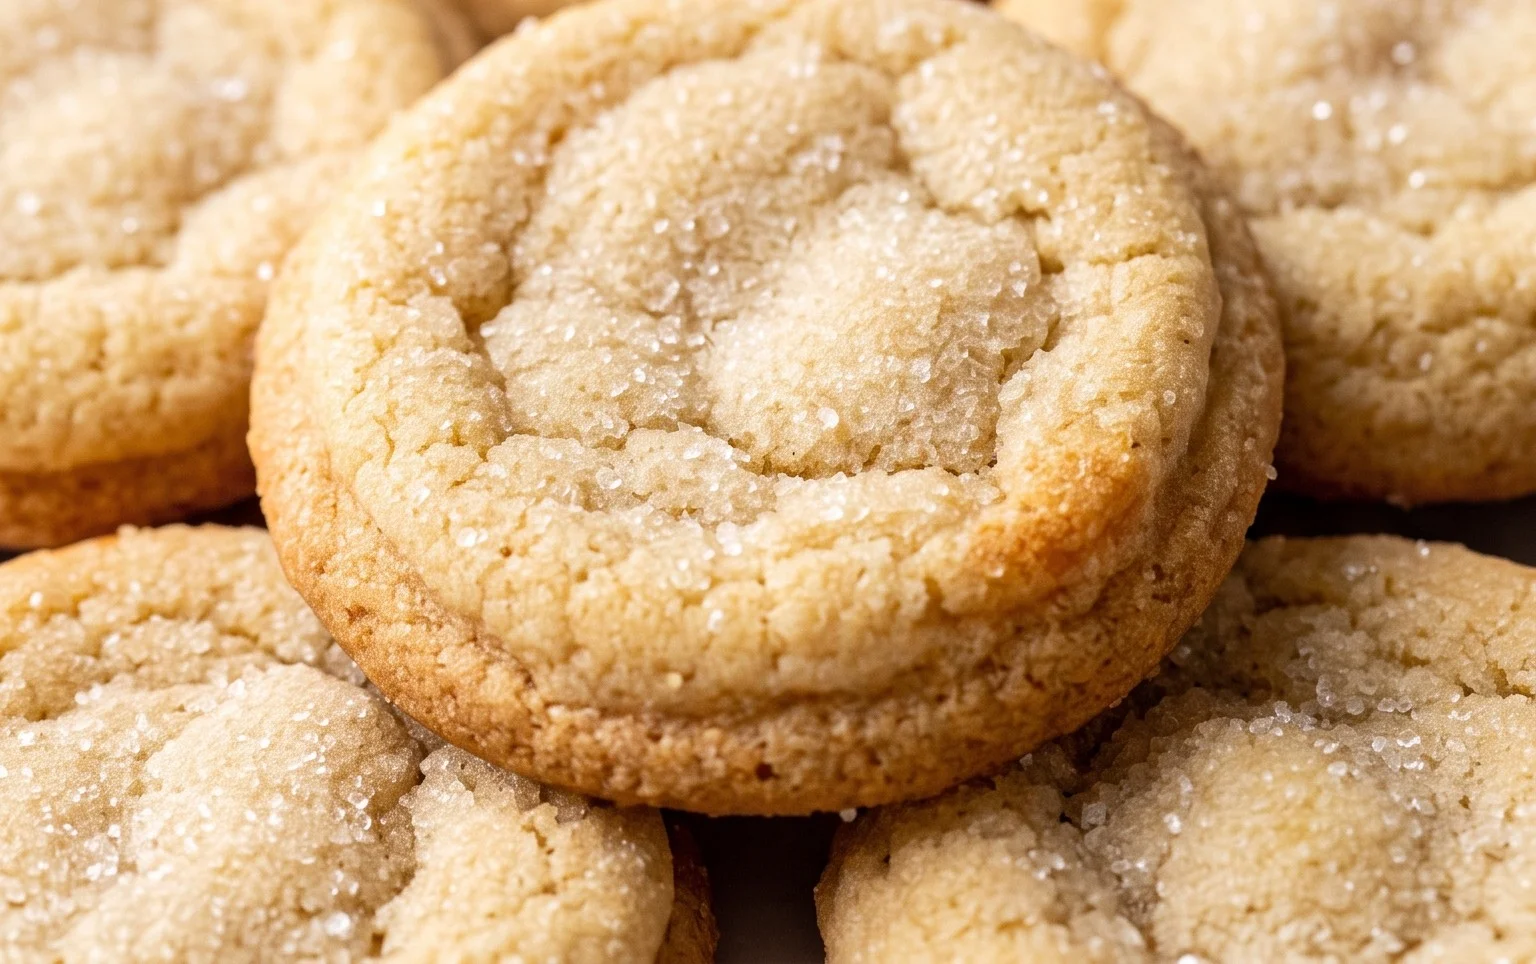
Conclusion:
As you can see, these mini sugar cookies are an absolute delight to make and even more of a joy to eat! Their simple ingredients and straightforward process make them a perfect project for bakers of all levels, from beginners looking for a confidence boost to seasoned pros seeking a reliable go-to. The charm of their miniature size means you can indulge in more without guilt, and they’re incredibly versatile. Whether you’re decorating them for a special occasion, enjoying them with a cup of tea, or simply craving a sweet treat, these cookies deliver every time. I highly encourage you to give this recipe a try – I promise you won’t be disappointed!
For serving, these little gems are fantastic on their own, but they truly shine when decorated. Think of vibrant royal icing, edible glitter, or even a sprinkle of coloured sugar. They make wonderful additions to cookie platters, care packages, or even as edible party favors. For a slight twist, consider adding a pinch of cinnamon or almond extract to the dough for a nuanced flavour profile.
Frequently Asked Questions:
Can I make these mini sugar cookies ahead of time?
Absolutely! These cookies store wonderfully. Once completely cooled, keep them in an airtight container at room temperature for up to a week. For longer storage, you can freeze the baked and cooled cookies for up to 3 months.
What’s the best way to get perfectly round mini cookies?
Using a small cookie scoop is your best friend for uniform size and shape. Alternatively, you can roll small portions of dough into little balls with your hands. Ensure you leave adequate space between them on the baking sheet as they will spread slightly.
My cookies spread too much. What went wrong?
This can happen for a few reasons. Ensure your butter and sugar are creamed properly but not over-creamed (which can incorporate too much air). Also, chilling the dough for at least 30 minutes before baking is crucial. This firming up of the butter prevents excessive spreading. Make sure your oven temperature is accurate too; an oven that’s too hot can cause them to bake too quickly and spread.
Mini Sugar Cookies
Delightful mini sugar cookies, perfect for any occasion, with a crisp exterior and a tender interior. Easy to make and fun to decorate.
Ingredients
-
½ cup (113g) unsalted butter (softened but still cool to the touch)
-
½ cup (115g) granulated sugar
-
½ cup (60g) powdered sugar
-
½ cup (108g) canola or vegetable oil
-
1¼ teaspoons pure vanilla extract
-
¼ teaspoon almond extract
-
1 large egg
-
2⅓ cups (291g) all purpose flour (spooned and leveled)
-
¾ teaspoon baking soda
-
¾ teaspoon cream of tartar
-
½ teaspoon salt
-
¾ cup (173g) granulated sugar, divided (for rolling and sprinkling)
Instructions
-
Step 1
In a large bowl, cream together the softened butter, granulated sugar, and powdered sugar until light and fluffy. -
Step 2
Beat in the canola or vegetable oil, vanilla extract, almond extract, and egg until well combined. -
Step 3
In a separate medium bowl, whisk together the all-purpose flour, baking soda, cream of tartar, and salt. -
Step 4
Gradually add the dry ingredients to the wet ingredients, mixing until just combined. Do not overmix. -
Step 5
Shape the dough into small balls, about 1 inch in diameter. Roll each ball in the divided granulated sugar for rolling and sprinkling. -
Step 6
Place the dough balls 2 inches apart on a baking sheet lined with parchment paper. -
Step 7
Bake in a preheated oven at 375°F (190°C) for 8-10 minutes, or until the edges are lightly golden. -
Step 8
Let the cookies cool on the baking sheet for a few minutes before transferring them to a wire rack to cool completely.
Important Information
Nutrition Facts (Per Serving)
It is important to consider this information as approximate and not to use it as definitive health advice.
Allergy Information
Please check ingredients for potential allergens and consult a health professional if in doubt.