Easy Frozen Candied Grapes Healthy Treat
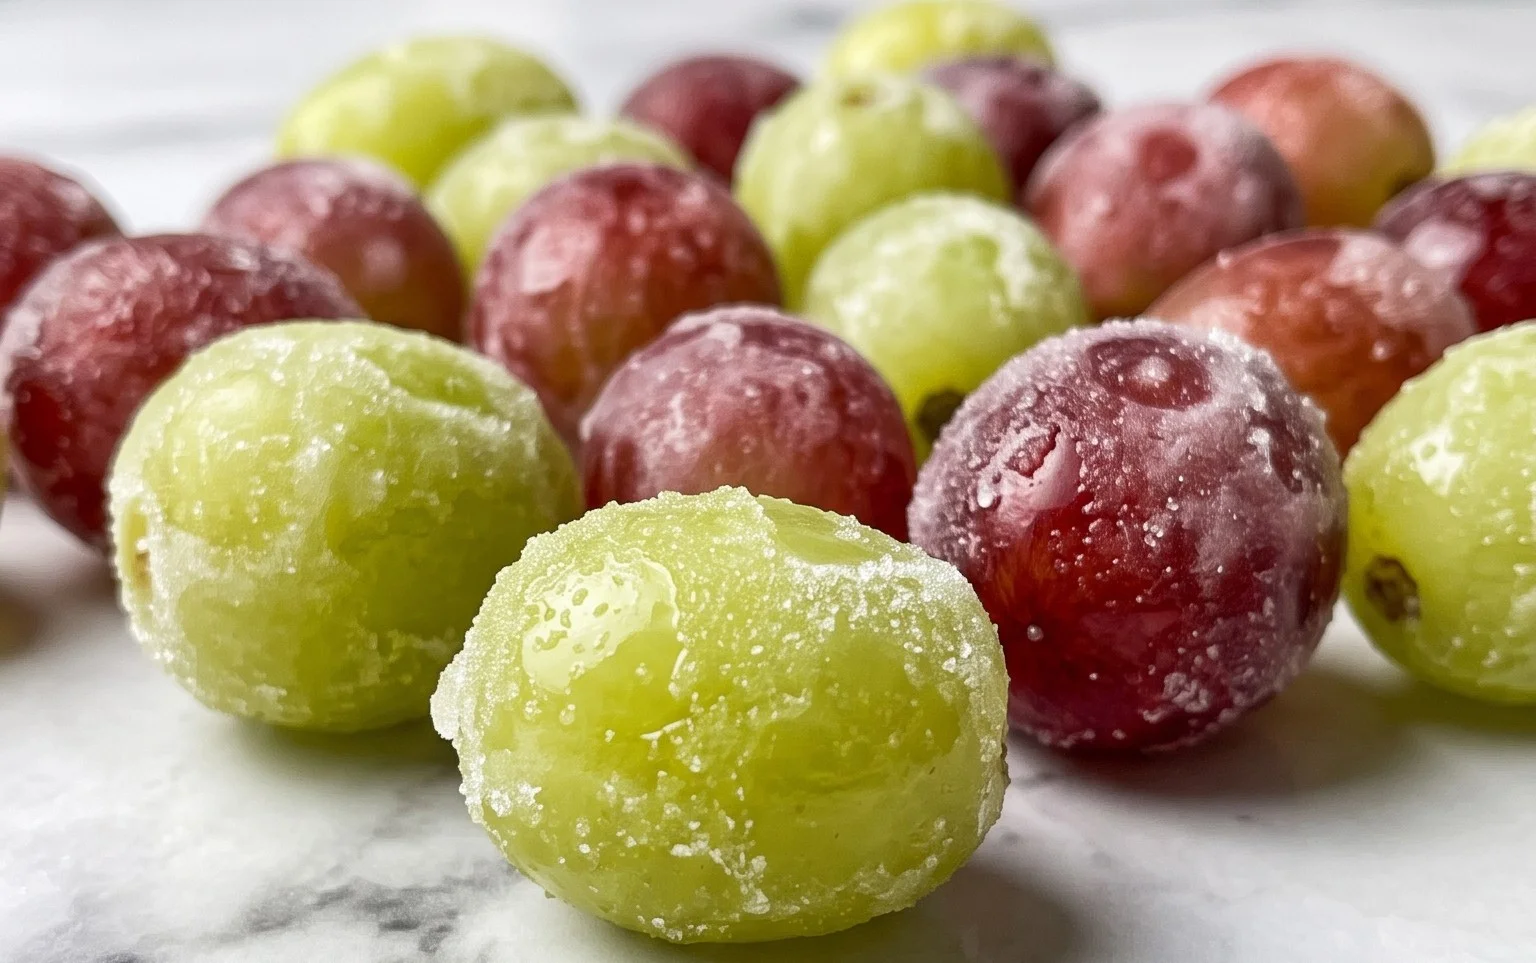
3-Ingredient Frozen Candied Grapes are about to become your new favorite obsession! If you’re anything like me, you crave those sweet, satisfying treats that are both delicious and ridiculously easy to make. That’s exactly where these magical little bites shine. Imagine plump grapes, kissed with a sweet, crunchy coating that transforms them into something truly special. They’re the perfect answer to a sweet craving without all the fuss, and the textural contrast between the frozen grape and the crystallized sugar is absolutely divine. What makes these 3-Ingredient Frozen Candied Grapes so irresistible is their deceptive simplicity; with just a few pantry staples, you can create a dessert or snack that feels gourmet. Get ready to experience a burst of refreshing sweetness that’s incredibly addictive!
3-Ingredient Frozen Candied Grapes
Looking for a refreshingly sweet and satisfying treat that’s surprisingly simple to make? These 3-ingredient frozen candied grapes are an absolute game-changer. They’re perfect for a healthy snack, a fun dessert, or even a way to elevate your next party platter. The magic lies in the delightful combination of crisp, chilled grapes, a subtly sweet and tangy glaze, and a satisfying crunch that will have you reaching for more. Plus, with just a few core ingredients, you can whip these up in no time, making them an ideal last-minute treat.
The beauty of this recipe is its simplicity. We’re stripping away the unnecessary and focusing on pure, unadulterated flavor and texture. No complicated techniques, no hard-to-find ingredients – just pure, simple joy in a frozen bite. Get ready to discover your new favorite way to enjoy grapes!
Ingredients:
- 4 cups green grapes (cleaned and thoroughly dried)
- 1 cup Monk Fruit Sweetener (granulated)
- 2 limes (juiced, about 4 tablespoons)
- 2-3 teaspoons citric acid (or more to taste) ((optional) )
Creating the Candied Coating
The heart of this recipe is the creation of a beautiful, crackly candied coating that clings perfectly to the frozen grapes. This isn’t your typical sugar syrup; we’re using Monk Fruit Sweetener for a low-glycemic option that doesn’t compromise on sweetness. The lime juice adds a crucial element of tanginess, cutting through the sweetness and providing a bright, zesty counterpoint. For an extra punch of tartness and a delightful textural element, the optional citric acid is a fantastic addition. It mimics the satisfying “zing” you might find in sour candies, making these grapes even more addictive.
Step-by-Step Instructions
Here’s how to transform simple grapes into a frozen confectionery dream:
1. Prepare Your Grapes: Start by thoroughly washing your green grapes. It’s crucial that they are completely dry before proceeding. Any excess water will prevent the glaze from adhering properly and could lead to a less-than-ideal texture. You can spread them out on a clean kitchen towel or paper towels and gently pat them dry. Ensure there are no stems attached; you want individual grapes for the best coating coverage. Place your dried grapes in a single layer on a baking sheet lined with parchment paper. This will prevent them from sticking together once frozen. Then, pop this tray of grapes into the freezer for at least 30 minutes, or until they are firm to the touch. Freezing them beforehand helps the glaze set quickly and creates that lovely crisp exterior.
2. Make the Candied Glaze: In a small, heavy-bottomed saucepan, combine the granulated Monk Fruit Sweetener and the freshly squeezed lime juice. If you’re using the optional citric acid, add it now. Stir these ingredients together to form a slurry. Place the saucepan over medium heat. It’s important to stir constantly as the mixture heats up. You’ll notice the Monk Fruit Sweetener will begin to dissolve, and the mixture will start to bubble and thicken. Continue to cook, stirring frequently, until the mixture reaches the soft-ball stage. This is typically around 235-240 degrees Fahrenheit (113-115 degrees Celsius) on a candy thermometer. If you don’t have a thermometer, you can test this by dropping a small amount of the syrup into a glass of ice water. If it forms a soft, pliable ball that flattens when removed from the water, it’s ready. Be patient with this step; overcooking can lead to a burnt or bitter glaze, while undercooking might result in a glaze that’s too sticky and doesn’t set properly.
3. Glaze the Frozen Grapes: This is where the magic happens! Working quickly because the glaze will start to harden as it cools, remove the saucepan from the heat. Take your partially frozen grapes out of the freezer. Using a fork or a small whisk, carefully dip each frozen grape into the hot glaze, ensuring it’s fully coated. You want a thin, even layer. It’s helpful to have a second baking sheet lined with parchment paper ready to receive the glazed grapes. You can gently roll the coated grape on the parchment paper to create a slightly more uniform shape if desired. Alternatively, you can use a skewer to dip them, which can give you more control, but be sure to remove the skewer afterwards.
4. Flash Freeze for Perfection: Once a batch of grapes is glazed, immediately return the baking sheet with the coated grapes back to the freezer. This rapid freezing is key to achieving that desirable brittle, glassy candy shell. You want the glaze to set hard and fast, creating a satisfying crunch when you bite into the grape. Continue this process, glazing and freezing in small batches, until all your grapes are coated. It’s essential to work in batches so the glaze doesn’t become too cool and thick between dipping. If the glaze starts to become too thick, you can gently rewarm the saucepan over low heat for a minute or two, stirring constantly, until it reaches a workable consistency again.
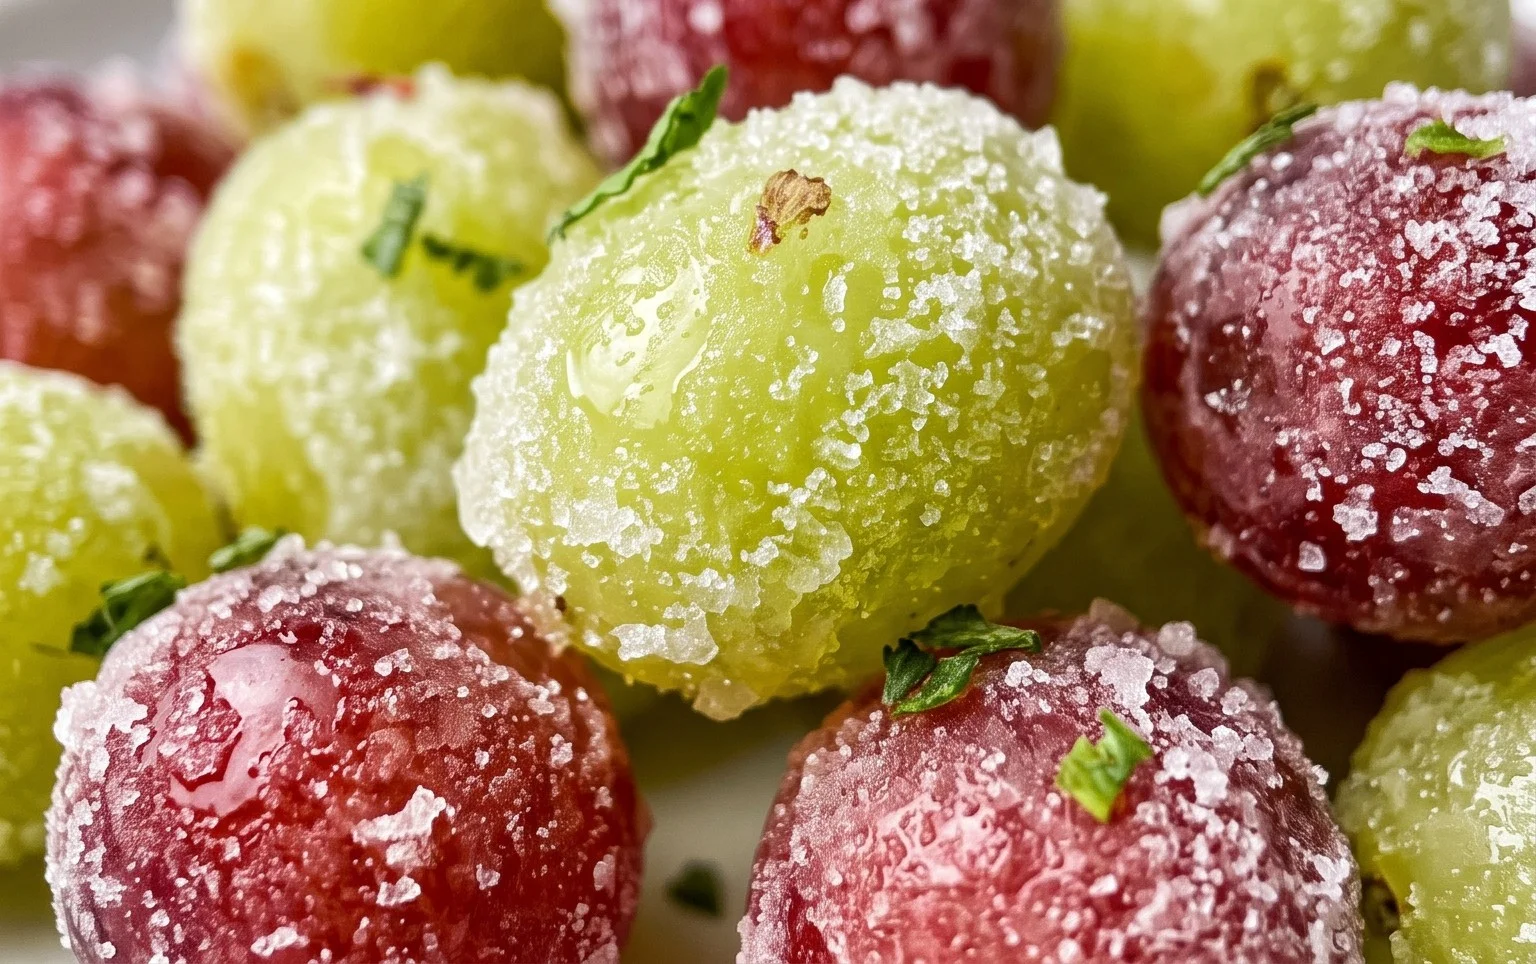
5. Final Freeze and Serve: Once all the grapes are glazed and have undergone their initial flash freeze, arrange them in a single layer on the baking sheet. Place the entire baking sheet back into the freezer for at least another hour, or until the candied coating is completely hardened and the grapes are thoroughly frozen. This final freeze ensures they are perfectly chilled and the glaze is set for optimal crunch and flavor. To serve, simply transfer the frozen candied grapes to a serving dish or container. They are best enjoyed immediately. You can store any leftovers in an airtight container in the freezer for up to a week, though they are undeniably at their peak when freshly made. The contrast between the cold, crisp grape and the sweet, tangy, slightly crunchy candied shell is truly something special. Enjoy!
Conclusion:
There you have it! Our 3-Ingredient Frozen Candied Grapes recipe is truly a game-changer for anyone seeking a ridiculously easy yet incredibly satisfying sweet treat. The magic lies in its simplicity: juicy grapes, a touch of sweetness, and a quick freeze transform ordinary fruit into a delightful, almost candy-like experience. They’re perfect for a healthy-ish dessert, a refreshing snack on a hot day, or even an unexpected party appetizer that’ll have your guests raving. The satisfying pop and the burst of sweet flavor make these a truly addictive delight. I encourage you all to give this wonderfully simple recipe a try; you won’t be disappointed!
For serving, consider presenting them in small bowls or on a platter. They also make a fantastic addition to a cheese board, offering a sweet counterpoint to savory elements. If you’re feeling adventurous with variations, try adding a sprinkle of chili powder for a spicy kick, a dusting of finely chopped mint before freezing for an extra layer of freshness, or even a drizzle of melted dark chocolate after they’ve frozen for an indulgent upgrade. Experimenting is half the fun!
Frequently Asked Questions:
Why are my frozen candied grapes not crunchy?
Ensure your grapes are thoroughly dry before coating them. Any excess moisture can prevent the sugar coating from hardening properly. Also, make sure they are frozen solid, which usually takes at least 2-3 hours. If they are still a bit soft, pop them back in the freezer for a while longer.
Can I use different types of grapes?
Absolutely! While red or green seedless grapes are classic, feel free to experiment with black seedless grapes as well. The sweetness and texture might vary slightly, but they all create a delicious frozen candied grape experience.
How long do these frozen candied grapes last?
These are best enjoyed within a week of making them. Store them in an airtight container in the freezer. They might stick together a little if stored for too long, but you can usually separate them once slightly thawed. Enjoy the amazing 3-Ingredient Frozen Candied Grapes!
3-Ingredient Frozen Candied Grapes
A simple and refreshing frozen treat made with sweet grapes, a sugar-free sweetener, and tart lime.
Ingredients
-
4 cups green grapes (cleaned)
-
1 cup Monk Fruit Sweetener (granulated)
-
2 limes (juiced)
-
1/4 cup water
-
1 teaspoon vanilla extract
Instructions
-
Step 1
Wash and thoroughly dry the green grapes. Ensure they are completely dry for the candy coating to adhere properly. -
Step 2
In a medium saucepan, combine the Monk Fruit Sweetener, lime juice, water, and vanilla extract. -
Step 3
Heat the mixture over medium heat, stirring constantly, until the sweetener is completely dissolved and the syrup begins to thicken slightly. This should take about 5-7 minutes. -
Step 4
Remove the saucepan from the heat and let the syrup cool for a few minutes until it’s warm but not piping hot. This prevents the grapes from becoming mushy. -
Step 5
One by one, dip each grape into the warm syrup, ensuring it’s fully coated. Allow excess syrup to drip off. -
Step 6
Place the coated grapes on a parchment-lined baking sheet. Freeze for at least 2-3 hours, or until solid.
Important Information
Nutrition Facts (Per Serving)
It is important to consider this information as approximate and not to use it as definitive health advice.
Allergy Information
Please check ingredients for potential allergens and consult a health professional if in doubt.